- 877.684.1613
- Schedule a Tour

Looking for new ideas to fill your summer days? Try this easy, hands-on science experiment using just four common items you probably have at home. Our Traveling Rainbow is simple and visual for children of all ages—and it shouldn’t make too much of a mess either. (We know exploding baking soda volcanos aren’t for everyone!)
For this water-based activity, you’ll also need cups (or jars), food coloring, and paper towel.
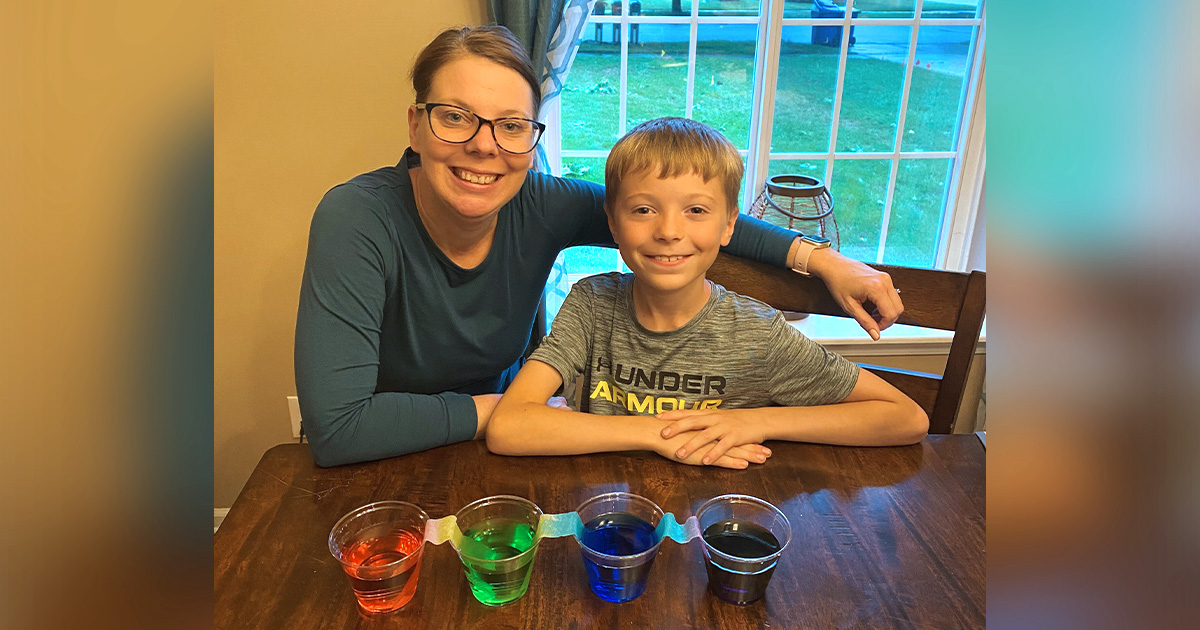
Once set up, they all work in harmony to create a blended array of colors that are sure to wow your little one. The colors will travel right before their eyes! To show you how it’s done, LCG’s Charlotte Armitage and her son, Ethan (9), created their own Traveling Rainbow at home.
Watch their experiment in action and then give it a try yourself!
- To begin, gather your supplies. You’ll need as many cups as you have colors. It’s not a requirement that they’re clear, but it adds to the colorful scene if you can see through them.
- Fill each cup about halfway with water. Place them on a flat surface. You can arrange them in a line, circle, or zig-zag pattern. Let your little scientist decide!
- Next, add a few drops of color to each cup. Stir each of them well to blend the color in. If you’re following the rainbow for inspiration, you’ll need red, orange, yellow, green, blue, and purple. Again, scientist’s choice here! Any colors will do. Any order will too.
- Rip your paper towel into thick strips. You’ll need one in between each cup to connect them. Place the end in one color and dip the other end into the next cup. Do this until all the cups are linked.
- Now, sit back and watch the magic happen!
Have your child describe what they see. Are the colors blending in the middle to form new colors? What would happen if you linked two different colors? Which one is their favorite? Tell us!
Snap a picture, share it on social, and tag your school. We’d love to see your rainbow!
