- 877.684.1613
- Schedule a Tour
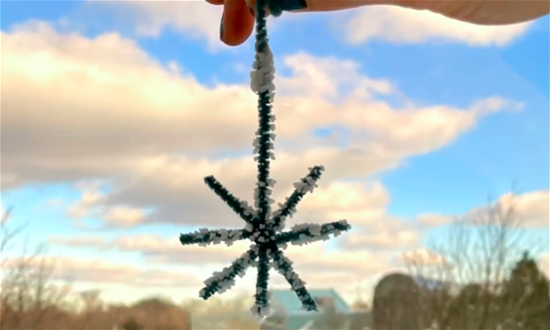
 Our craft this month lets your kids see science in action through the lens of a mason jar. We’re going to tell you how to create your own salt snowflakes using just a few simple items.
With a little patience, you can watch your snowflakes form and change, right before your eyes! Here’s a video of the process in action so you know exactly what to expect as you collect the following materials. And remember, just as they are in nature, your snowflakes will all be perfectly unique.
- Mason jar(s)
- Scissors
- Straws or wooden sticks
- Pipe cleaners
- Salt
Use one mason jar, per snowflake. To get started, create a pot of saltwater. Boil 2 to 3 cups of water, per jar. Use your jar as a measuring glass and fill it up as many times as you have jars.
Once your water starts bubbling, add the salt. Dissolve it until crystals start to form on the surface. You’ll likely use about 8 ounces of salt, per jar, but it doesn’t need to be a precise measurement. For example, if you’re creating three snowflakes, you’ll likely use an entire 24-26 oz. container of salt. Fill each jar with saltwater.
It’s time to prep your snowflakes! Cut a few pipe cleaners in half (so they fit inside the width of the jar). Twist some pieces together in the middle to form a snowflake shape. Use an uncut pipe cleaner to hang the snowflake from a straw or wooden stick.
Submerge the snowflake(s) underwater by balancing the straw/stick across the rim of the opening.
Leave your jar(s) near a sunny window for a few days. Crystals will form around the pipe cleaner over time. The longer you leave them to crystalize, the more the pipe cleaner will disappear!
Once you’re happy with your salt snowflake, remove it from the water and let it dry.
Bonus: For an extra neat view, grab a magnifying glass!
Craft adapted from Living Well Mom.
